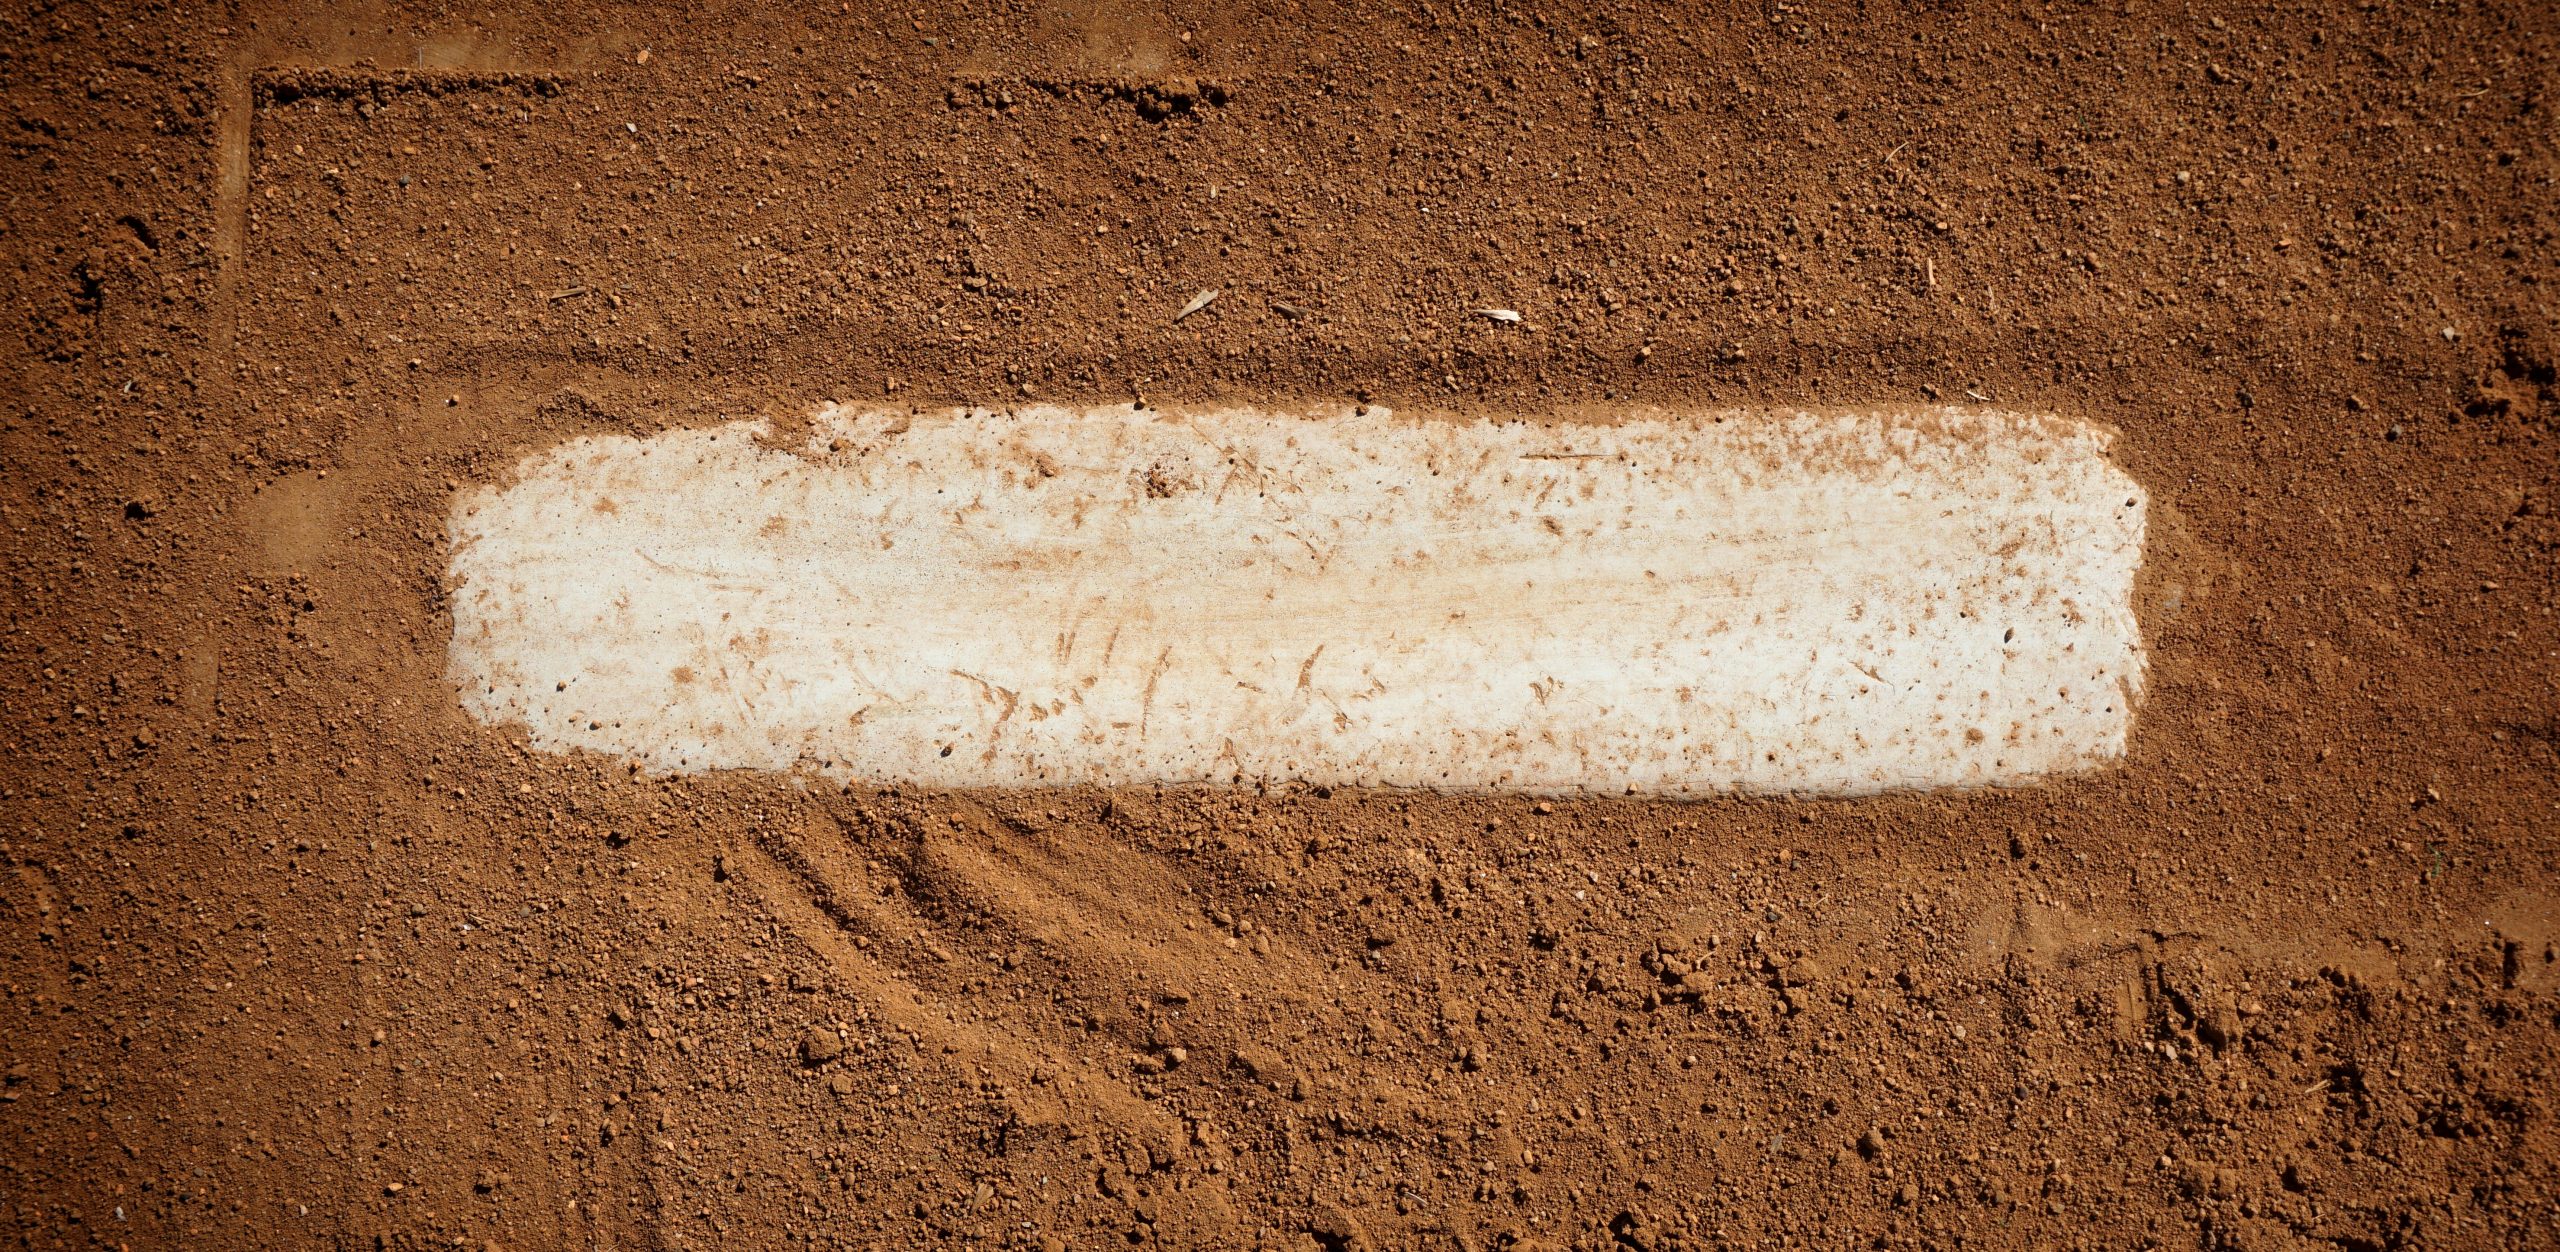
The pitching rubber is an important part of any baseball or softball field. Because it receives so much wear, the rubber will eventually need to be replaced. How often you replace it will depend on the quality of the rubber and the amount and level of play it sees. The process is similar regardless, and it doesn’t require a surveyor to complete. Here are the steps to replace the pitching rubber on a high school baseball field.
First, set up a laser. Take a reading at home plate, then lower the receiver 10 inches to achieve the proper elevation for the new pitching rubber. Build the base under the rubber by installing clay, concrete blocks, or even an additional rubber.
Next, pull string lines: two from the foul poles through home plate, and one from home plate through the middle of the second base anchor.
Now you’re ready to install the new pitching rubber. As you do, center the rubber with the string from second base. Use the laser again to make sure the elevation is correct. Then measure the distance from the front of the rubber to the apex of home plate, where the other two strings meet. If it measures 60 feet, 6 inches, you’re within regulation.
Lastly, you’ll need to square the rubber with home plate. Measure the distance from the front corner of the rubber to the corresponding front corner of home plate, then do the same with the other corners. If both measure 59 feet, 1 inch, the rubber is square. If not, adjust until both sides are correct.
Before you call the project done, you’ll want to double check all of the dimensions and place a level on the pitching rubber. If the rubber is level and dimensions correct, gently compact mound clay around your new rubber and add “surveyor” to your resume.