Infield testing is an important part of field management. Understanding infield test results allows you to adjust the composition of your field accordingly. In this blog post, we’ll explain the basics of collecting a sample for testing and interpreting the sand, silt, clay, and gravel content results.
How to Collect an Infield Sample
Like soil testing, infield testing gives you valuable information about the makeup of your field. That information will help you identify and correct any problems proactively. The first step of the process is collecting a sample, which is simple when you follow these steps.
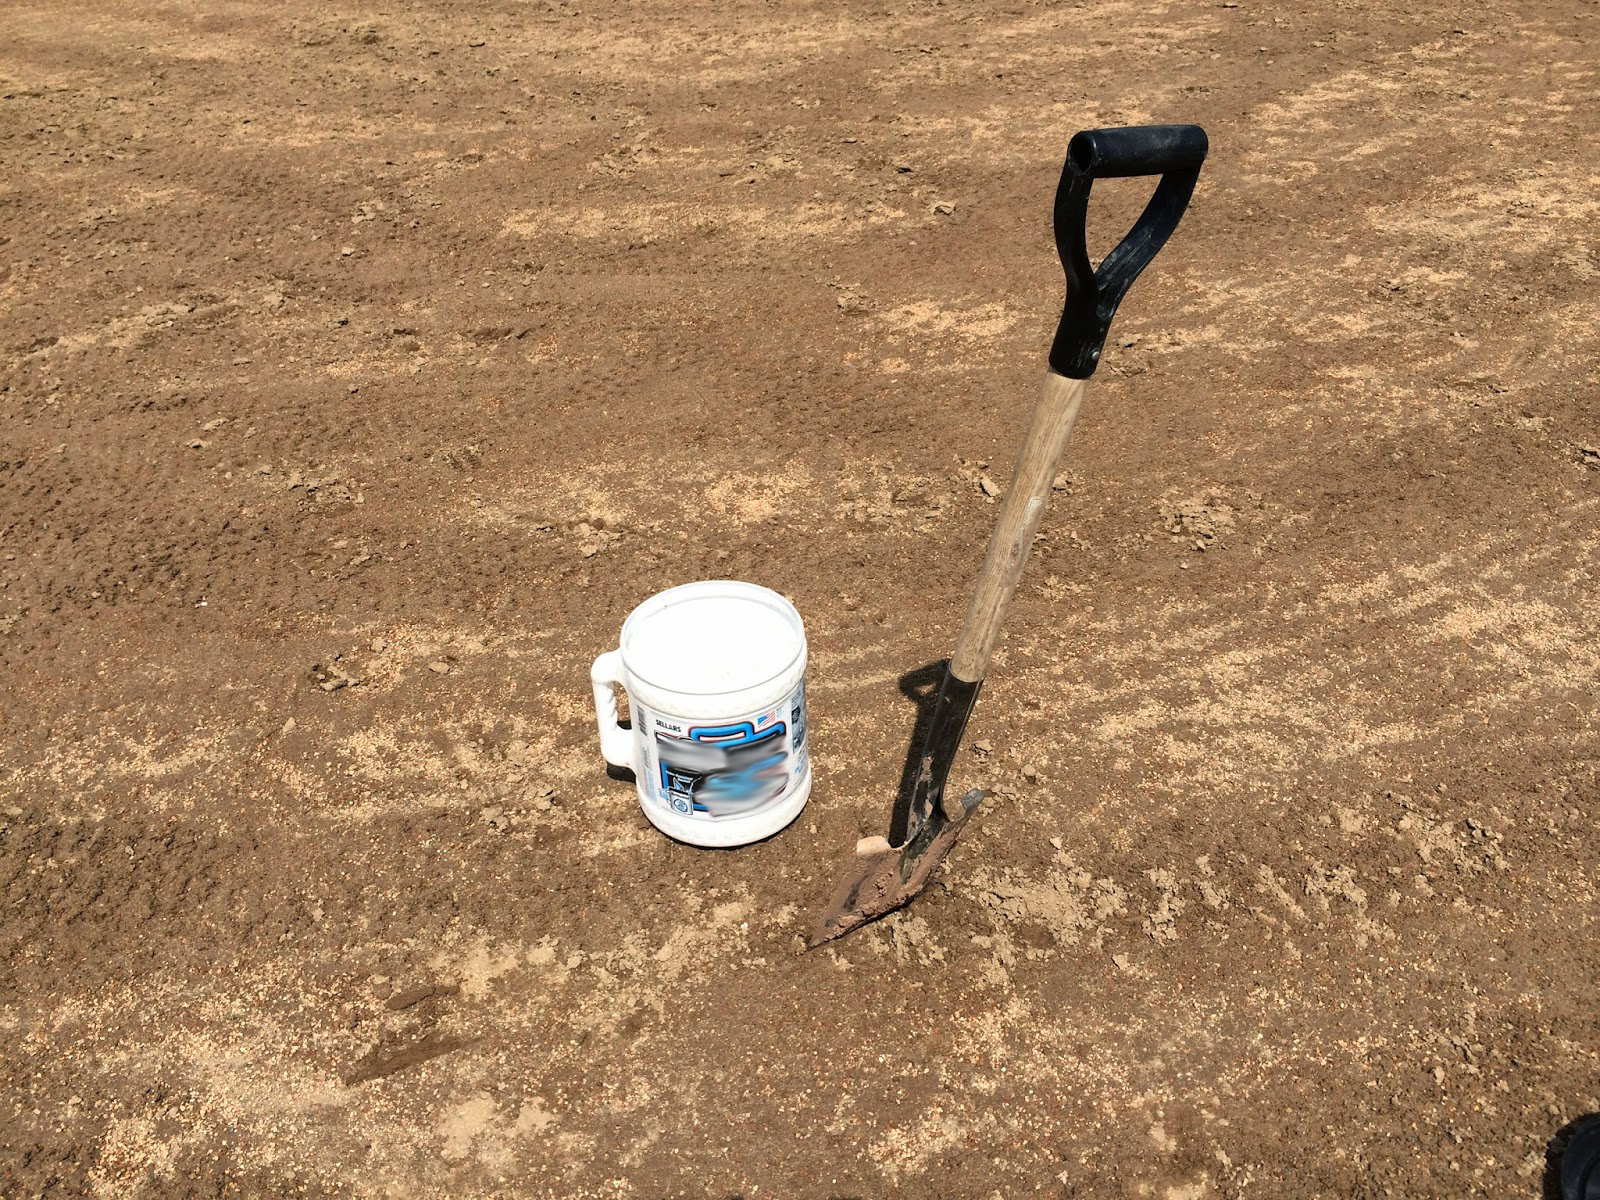
First, grab a shovel and a bucket. A five-gallon bucket or larger will do the job.
Next, use the shovel or your hand to brush all of the conditioner off of the area you’re going to sample. You want to collect a sample of just the infield mix, not the conditioner.
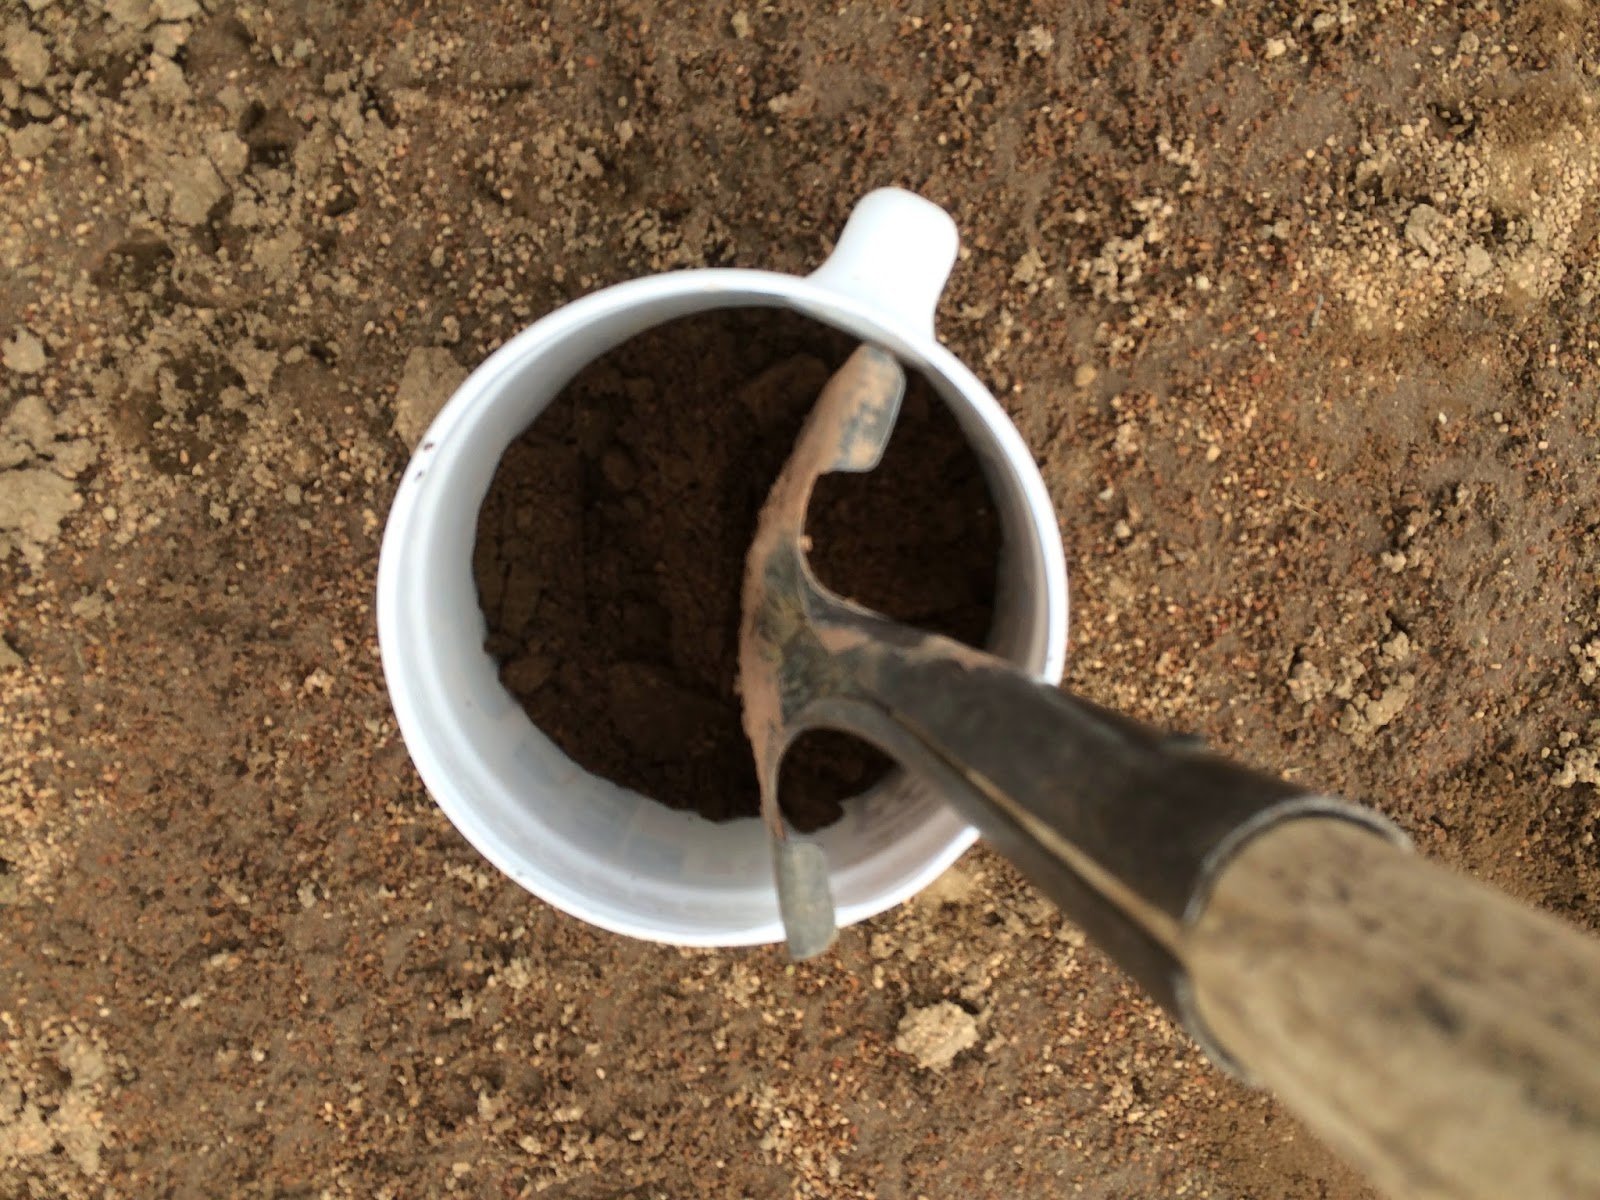
Use the shovel to remove a sample from four inches deep and put it in the bucket. Four inches is the depth to which the infield should be blended.
Repeat the process at least four times (and as many as eight times) in various locations around the infield. Once all of the samples are in the bucket, agitate it to blend them. From the bucket, fill a gallon-sized freezer bag halfway full.

The freezer bag is what you’ll submit for testing. Talk to your ATS rep if you have questions about where to send it, and keep reading to learn how to interpret the results from your test when you receive them.
Interpreting Infield Test Results: Sand
Sand content includes all material in the size range of 0.05–1 mm. The ideal percentage of infield material in that range depends on the level of play of the field, as specified below.
- Recreational and High School: 70–75%
- Collegiate: 65–70%
- Professional: 50–60%
When selecting an infield material for your field, it’s a good idea to perform an independent test to confirm the composition of the material before you commit to it. Choose a test that not only provides the percentage of sand but also a breakdown of the sand content. Variety within the overall sand content makes a difference.
Medium-sized sand includes all the sand retained on a medium (or larger) sieve. Again, the ideal percentage depends on the level of play:
- Recreational and High School: at least 50%
- Collegiate: 45–50%
- Professional: 38–45%
Within the ideal range, your field will have better structure in both wet and dry conditions. Lower amounts of medium-sized sand make for dusty infields in dry conditions and unstable infields in wet conditions.
Interpreting Infield Test Results: Silt and Clay
For your infield to perform well, it needs the proper mix of sand, silt, and clay. Any material between 0.05 mm and 0.002 mm in size is considered silt or clay. It’s a good idea to test your infield mix regularly to understand its composition. Use the information below as you interpret the test results specific to silt and clay.
At the recreational and high school levels, the combined silt and clay content should be 25-30% of the infield mix. At the college level, it should be 31-35%. Then at the professional level, the combined silt and clay content should be 38-42% of the infield mix.
It’s a good idea to use an infield test that includes a hydrometer reading because the results will include an analysis of how fine or coarse the silt is. Finer silt performs like clay, while coarser silt performs more like fine sand. Coarser silt makes the infield less stable when wet.
Understanding the quality of your silt will help you balance your infield mix for the best performance.
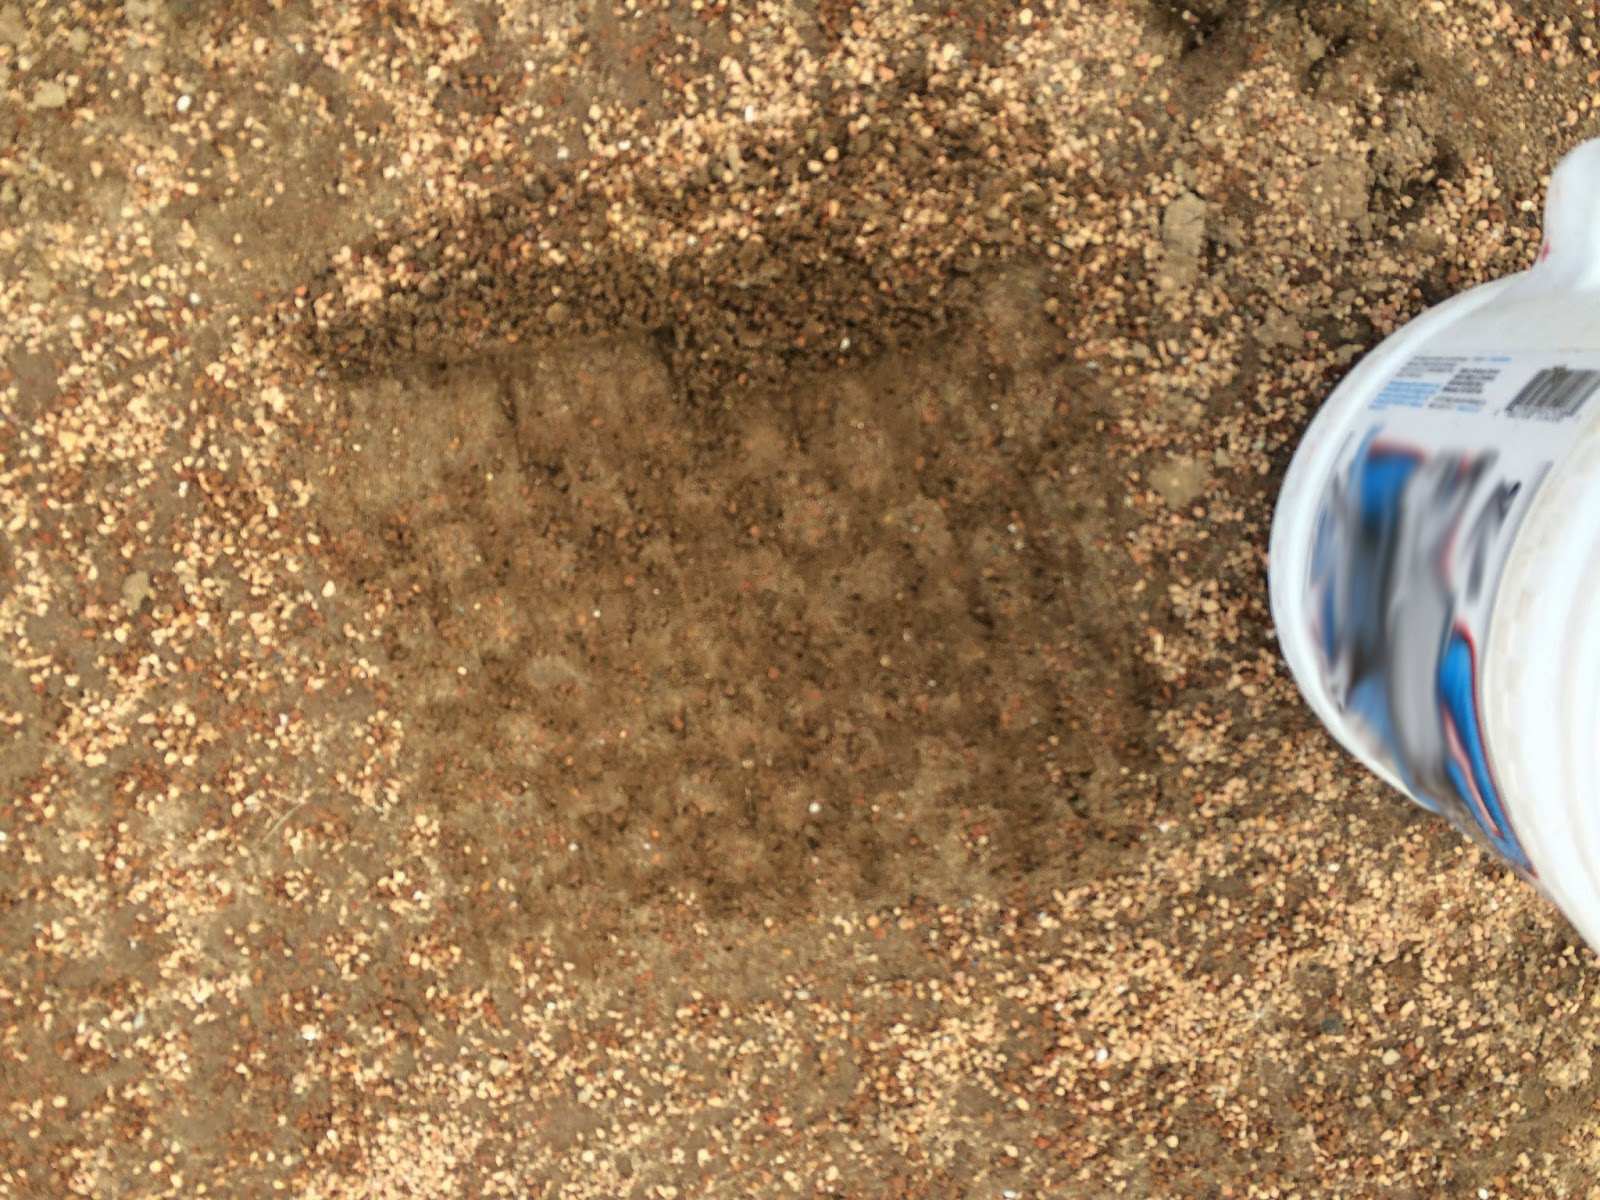
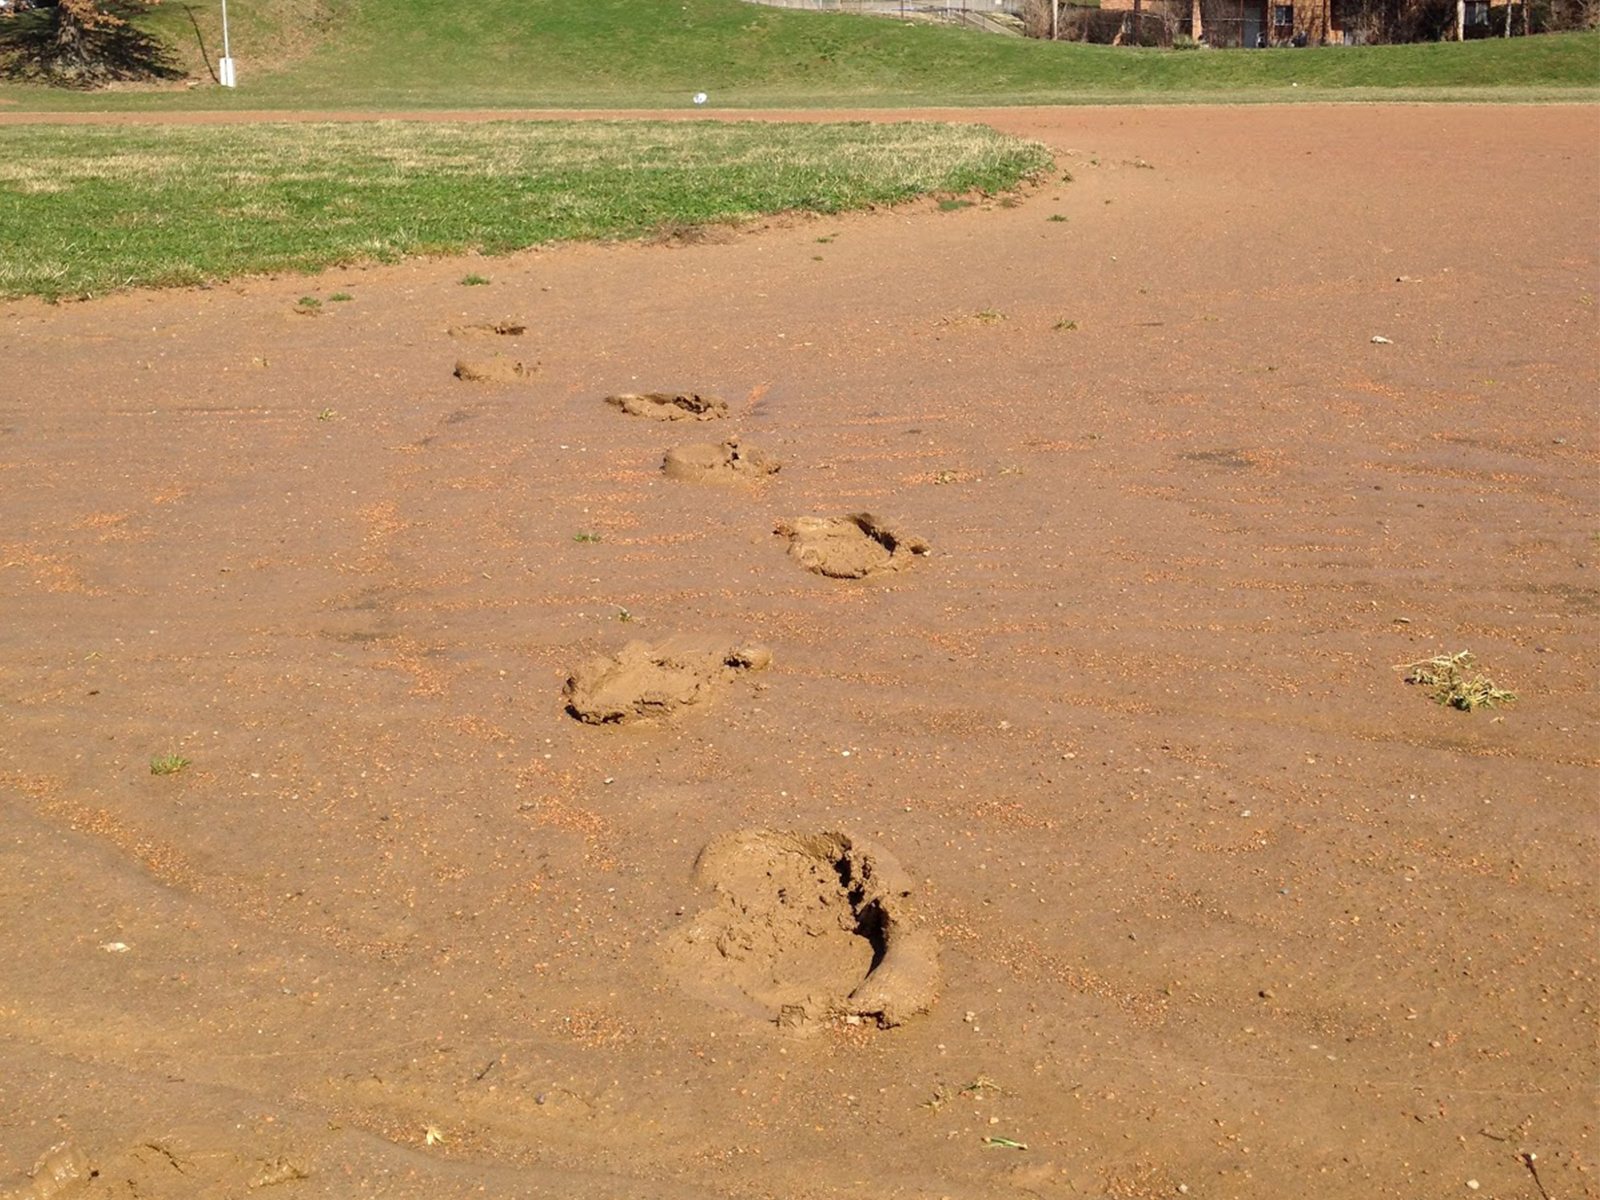
The photo below shows an infield that has high levels of fine and very fine sand, in addition to high levels of coarse silt. As you can see, the infield lacks structural stability.

Infields with similar clay percentages may perform differently because they contain different clay minerals. Clay minerals are what give the infield its distinct color, and they also affect expansion and contraction through cycles of wet and dry conditions. Again, pay attention to the quality of your clay so you can balance your infield mix accordingly.
The silt and clay results from an infield test are crucial to understanding your infield mix. Pay attention to the combined content of silt and clay in your mix, as well as the individual compositions of both. For further help interpreting test results, reach out to your ATS sales representative with any questions.
Interpreting Infield Test Results: Gravel
Infield testing gives you valuable information about the composition of your field. It tells you the percentages of important components—including sand, silt, and clay—and alerts you to unwanted materials in your mix.
Gravel is one such material you don’t want in your infield. Gravel content includes all material in the size range of 2 mm–12.5 mm. The ideal percentage of infield material in that range is less than 3%.
Gravel includes small stones and even some sizes of conditioner. Infield mixes should be screened to remove gravel, but you can conduct an independent laboratory test to confirm that the material has been properly screened.
Continue to test your infield mix regularly to understand its composition and identify any problems to correct. Your ATS rep can help you interpret the results of your infield test and strategize accordingly.