How to Prepare a Baseball Field For Winter
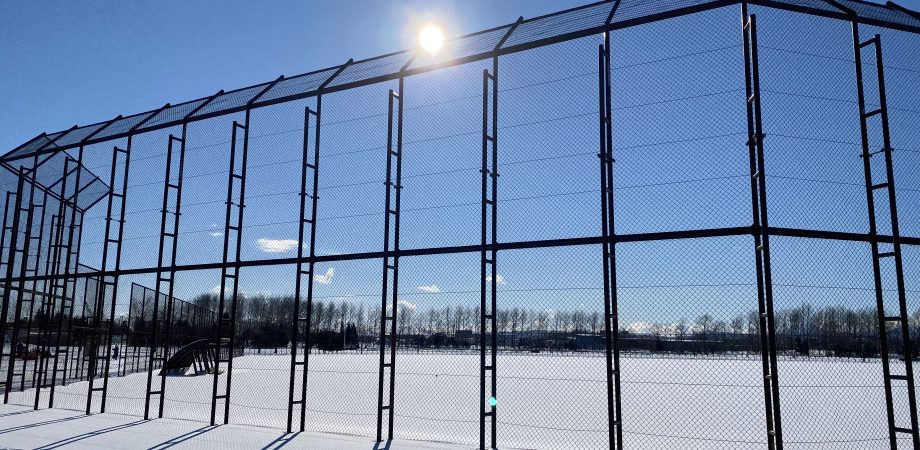
As the leaves change colors and the crack of a bat disappears, you should take some time to prepare your field for winter. These five steps should help you prioritize the process.
The first step is to remove all bases and backstops. Thoroughly inspect them, take note of what needs to be replaced, and then order replacements. You don’t want to be saying, “Where’s that list I made?” when spring comes around. We all understand the supply chain issues that everyone is having, and the last thing you want is to delay a spring game because second base has a rip in it. Don’t forget to order extra base plugs while you’re at it, if needed, because you know “Don” is always losing those.
The second step is to prep your pitching mound. Check the condition of the rubber and order a replacement if necessary. Take some time to bring out the mound gauge and check heights. You can now check to see if you need to add some clay or maybe even rebuild. If a partial or full regulation mound rebuild is required, you’ll need between five and fifteen bags of clay. The breakdown for 180 bricks is: 63 bricks for the platform (34” x 60”), 36 bricks on the stride area (32” x 36”), and 81 bricks for the landing area (3’ x 6’). A little league mound is roughly half that amount. Your mound should be nine feet in diameter. Sod, edge, or replace material if needed.
The last thing to do before you cover is to check the infield arc. It should be 95 feet from the front of the rubber. Paint out your arc if you intend to edge. Make sure to add some moisture and tarp this area because it’s now ready for spring.
Next up is your batter’s box. Check the condition of home plate and reorder if necessary. A full rebuild of a baseball batter’s box is 308 bricks. The breakdown is: 108 bricks each for two batter’s boxes (4’ x 6’) and 92 bricks for the catcher’s box (43” x 68”). You can accomplish the same with 40–120 bags of clay. Remember to only add one inch of clay and tamp it down. One 50-pound bag of compacted clay is equivalent to twelve bricks (4” x 8” x 2.5”). Another way to look at it is that one 50-pound bag will cover one square foot, three inches deep.
The third step is to complete your fall edging. We’re all guilty of saying, “I’ll get that in the spring.” But a wet spring can make that nearly impossible. Line string and an edger will have this knocked out in no time.
The fourth step is your final mowing. You should intentionally keep your grass a little longer in the fall. A mowing height of 3–3.5” will do the trick. This helps with photosynthesis as the days are shortening, and increasing leaf size is crucial. Take this opportunity to inspect your mower’s belts and blades in your final cleanup of the machine.
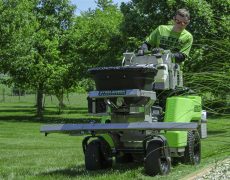
The final and most important step is fall fertilization and overseeding. With low availability and increasing costs of fertilizer, a soil test is a good idea. That way, you don’t apply a product you don’t need. Turfgrass will still drive roots deep into fall, so potassium is the crucial element to focus on. Potassium strengthens the plant to better endure winter and recover from injury. Don’t overuse nitrogen during this time frame. A coating of gypsum may be necessary too. Overseed any thin areas so they will germinate in the spring or, if early enough, in the fall yet. A slight increase in your canopy density will only give you a jump start in the spring.
Check these five steps off your to-do list, and your field will be all ready for winter.
Andy Weadge
Sales Representative
